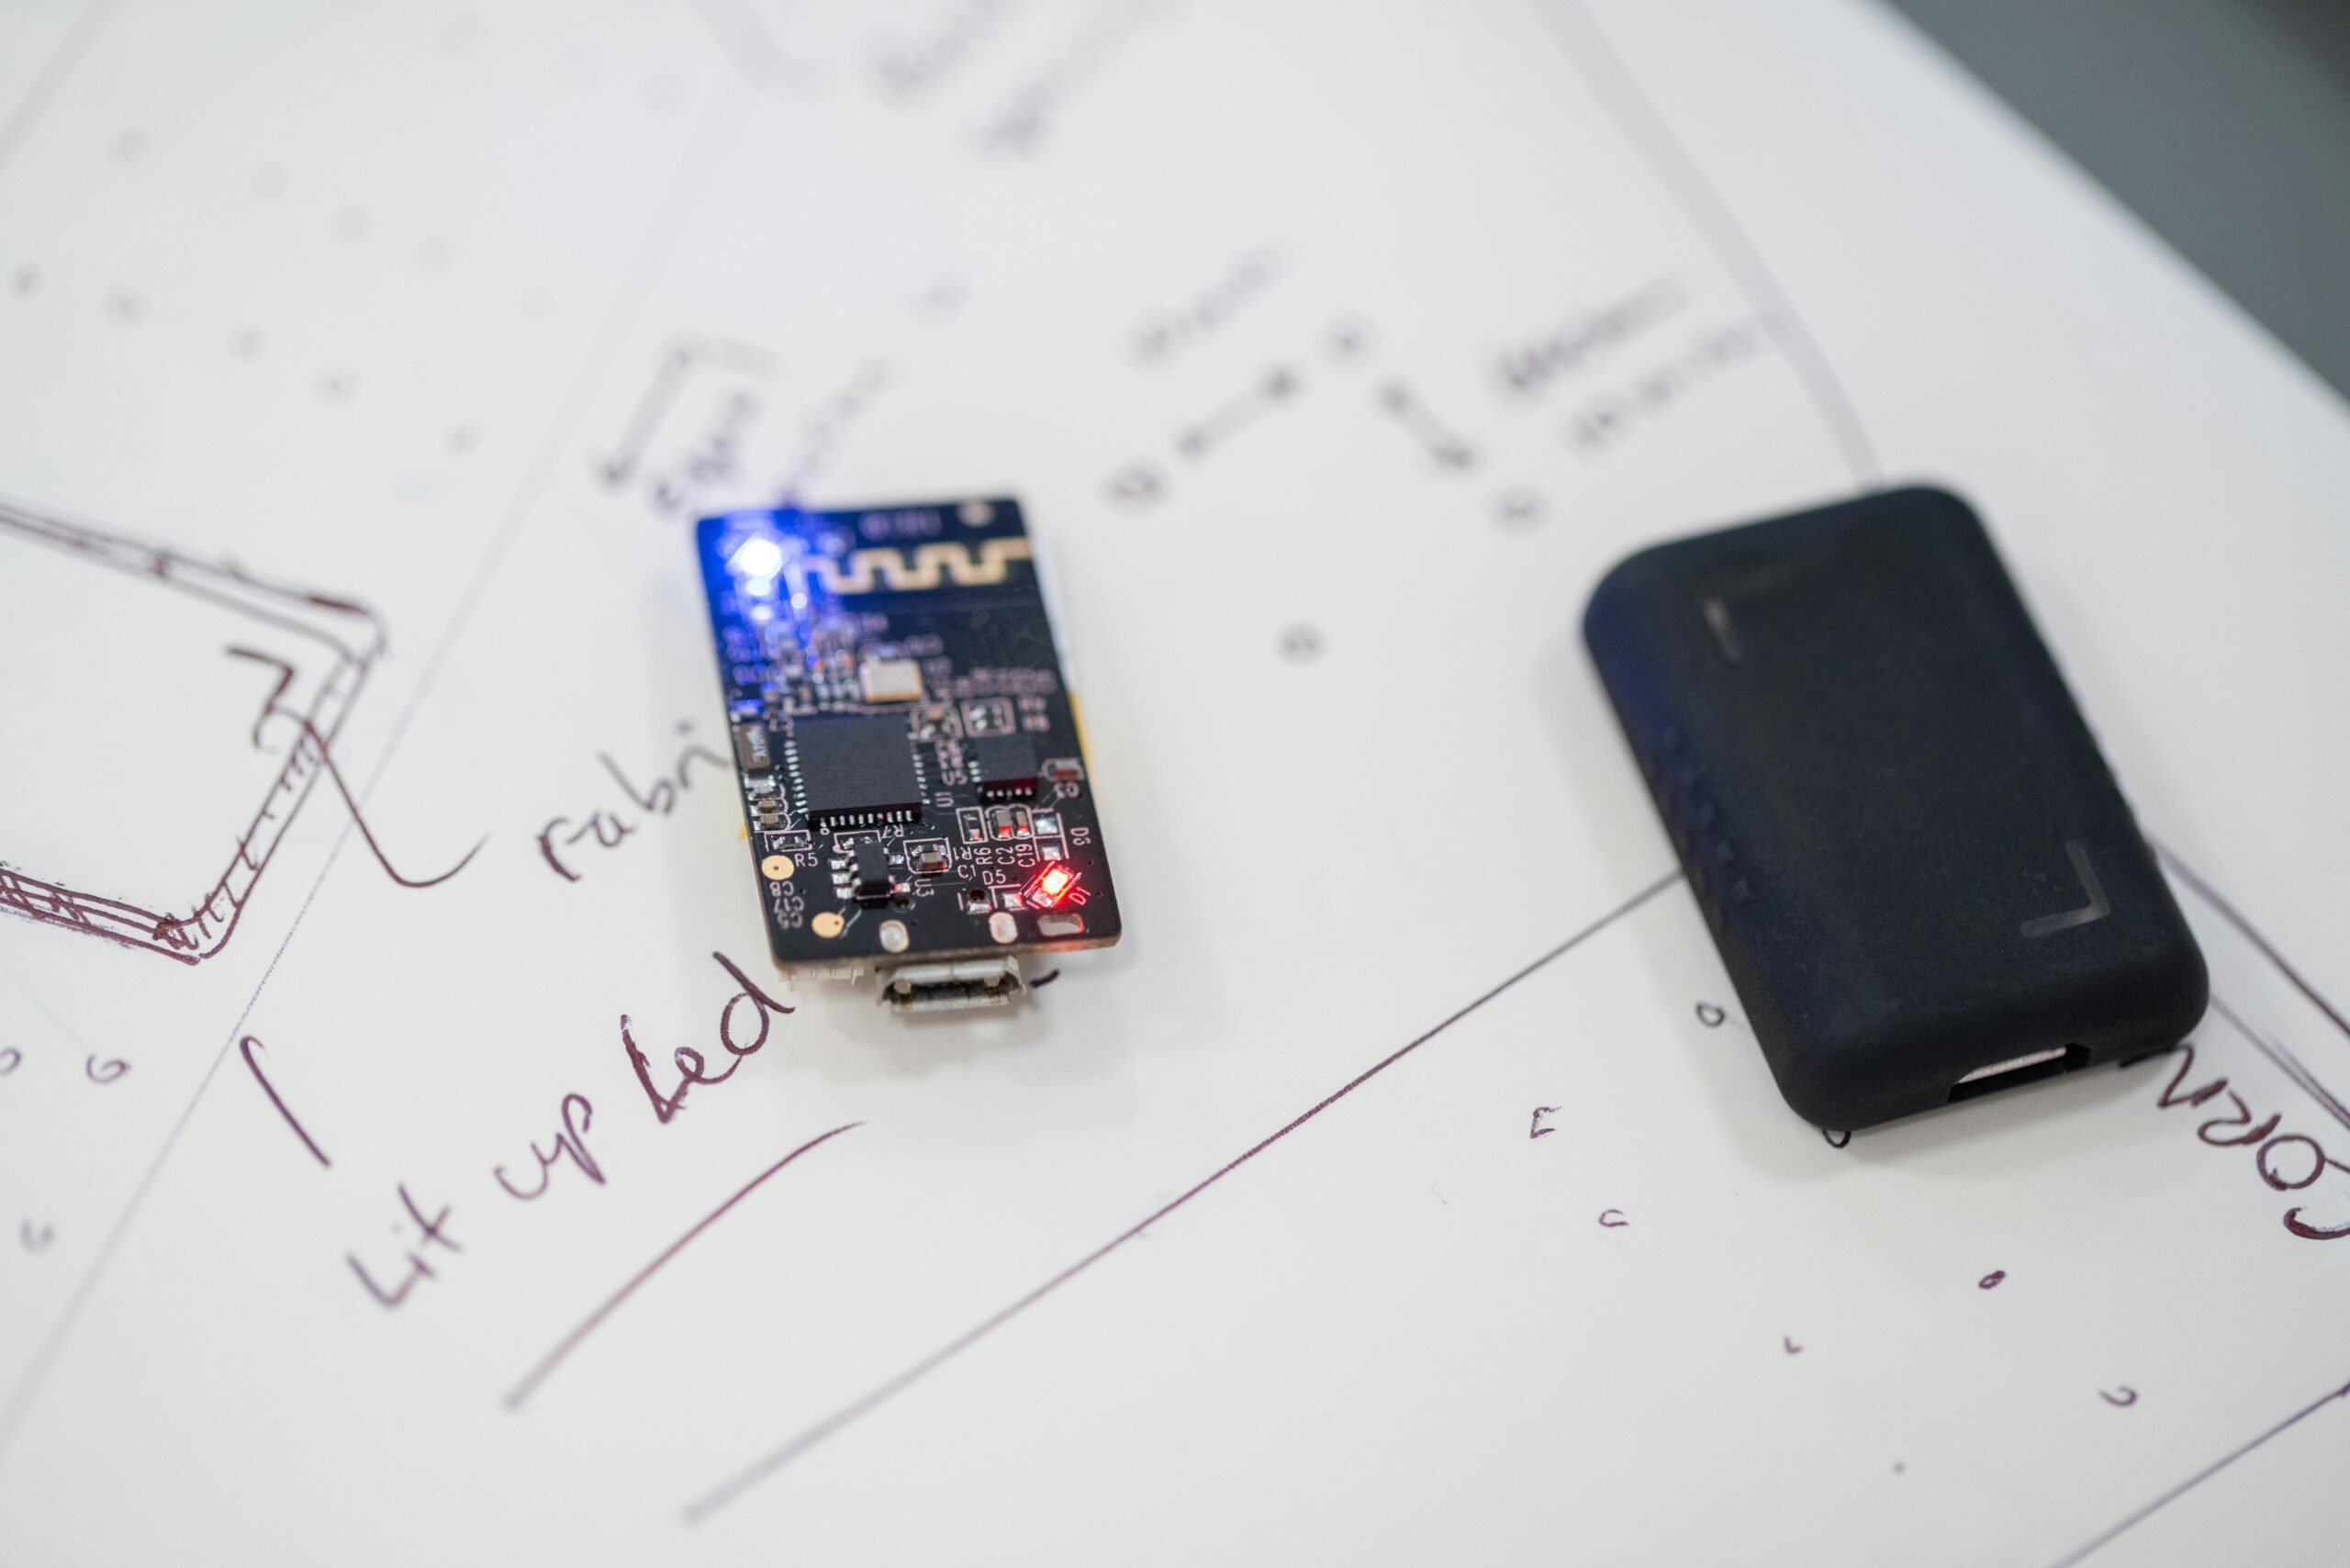
The ESP32-S2 is a powerful and versatile microcontroller that’s popular among IoT enthusiasts and makers. However, flashing it with ESPHome can sometimes be tricky. This guide will walk you through the process, helping you avoid common pitfalls and save time.
1. Specify the Correct Board Configuration
To ensure your firmware compiles correctly, you need to add a specific board type to your ESPHome configuration. Add the following YAML code to your config file:
esp32:
  board: lolin_s2_mini
  variant: ESP32S2
  framework:
    type: arduino
    version: 2.0.3
    platform_version: 5.0.0
This configuration specifies the board type (lolin_s2_mini), the ESP32 variant (ESP32S2), and the Arduino framework version to use.
2. Use the Web Flasher
After adding the correct board configuration, you should be able to use the ESPHome web flasher. However, if you encounter issues, try the following steps:
- Erase the flash memory first
- Do NOT reboot the unit after erasing
3. Enable Programming Mode
It’s crucial to drive Pin 0 low for programming. Many ESP32-S2 boards have a dedicated button for this purpose. Make sure to press and hold this button when connecting the board to your computer.
4. Erasing Flash Memory (if needed)
If you need to erase the flash memory, you can use the esptool. Here’s how:
- First, upgrade esptool:
pip install --upgrade esptool
- Then, erase the flash:
esptool.py --chip esp32-s2 --port /dev/cu.usbmodem01 erase_flash
Note: Replace `/dev/cu.usbmodem01` with the appropriate port for your system.
Conclusion
By following these steps, you should be able to successfully flash your ESP32-S2 board with ESPHome using the Arduino framework. Remember, the key points are:
- Correct board configuration in YAML
- Proper use of the programming button (Pin 0)
- Erasing flash if needed
I hope this guide helps you avoid the frustration I experienced when figuring this out. Happy coding!
